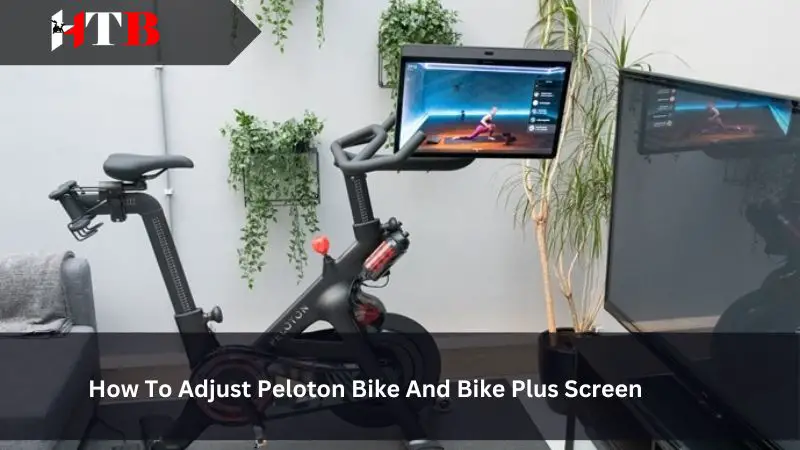
How To Adjust Peloton Bike And Bike Plus Screen
The Peloton bike and Bike Plus have gained immense popularity in recent years, offering a convenient and immersive indoor cycling experience. One of the key features of these bikes is the adjustable screen, which allows users to customize their viewing angle for optimal comfort and visibility. In this article, we will explore the various methods and techniques to adjust the Peloton bike and Bike Plus screen, ensuring an enjoyable and personalized workout experience.
Why Adjusting the Screen is Important
Before diving into the details of how to adjust the Peloton bike and Bike Plus screen, it is essential to understand why this adjustment is crucial. The screen serves as the primary interface for users, displaying vital workout metrics, class instructions, and even entertainment options. By adjusting the screen to the ideal position, users can:
- Prevent neck and eye strain
- Ensure clear visibility of metrics and instructions
- Enhance the overall workout experience
Now that we understand the importance of adjusting the screen, let’s explore the different methods to achieve the desired positioning.
How to Adjust and Rotate the Standard Peloton Bike Screen
Step 1: Unboxing the Top Form Designs Pivot
You need to buy the tool here. Inside the box, you’ll find the Pivot device, along with a set of instructions and the necessary tools for installation – a bolt, an Allen key, and a spanner. Even if you’re not particularly handy, the straightforward setup makes it accessible for everyone.
Step 2: Preparing Your Peloton Bike
Start by removing the screw caps and the clip that holds the monitor wires in place. Gently pull out the power and data cables, freeing them from any constraints. The provided tools will come in handy as you prepare to detach the screen from the Peloton bike.
Step 3: Detaching the Peloton Screen
Using the appropriate tools, carefully loosen the bolt that secures the screen. Lay the screen face down on a soft surface to avoid scratches. It’s a straightforward process, but having an extra pair of hands can be helpful, especially when removing the screen to prevent any accidental damage.
Step 4: Installing the Top Form Designs Pivot\
After removing the original screen bracket, attach the Pivot device in its place. Follow the provided instructions, ensuring a secure fit by tightening the bolt to your desired level of tightness.
Step 5: Reattaching the Peloton Screen
This step may require assistance, as putting the screen back on is easier with two people. Ensure the screen is well-supported and won’t tip forward during reattachment. Connect the wires and secure the screen in place with the provided bolt.
Step 6: Adjusting Your Screen to Perfection
With the Top Form Designs Pivot in place, you can now enjoy a wide range of adjustments. Whether you prefer the screen higher for better visibility during cycling or tilted down for floor workouts and yoga, the flexibility is now at your fingertips.
How to Adjust the Peloton Bike Plus Screen
The Peloton Bike Plus is easier to adjust since it has that compatibility.
In order to enhance your Peloton Bike+ experience and ensure optimal visibility, the adjustment of the touchscreen angle proves to be a valuable feature. By simply holding the top and bottom of the touchscreen, users can effortlessly tilt it forward or backward, customizing the viewing angle to their preference.
This intuitive design allows individuals to tailor the screen position according to their seating comfort, fostering an immersive and enjoyable workout session. Whether engaging in high-intensity cycling or participating in virtual classes, the flexibility to adapt the touchscreen angle on the Peloton Bike+ contributes to a personalized and user-friendly fitness environment.
Additional Tips for Screen Adjustment
Here are some additional tips to consider when adjusting the Peloton bike and Bike Plus screens:
- Experiment with different screen positions to find the one that feels most comfortable for you.
- Ensure that the screen is securely locked in place after making adjustments to prevent any accidents or damage.
- Take breaks and stretch during longer workouts to reduce the risk of muscle fatigue and strain.
- Consider using a tablet or smartphone holder if you prefer to use your own device for streaming classes or entertainment.
By following these tips, you can optimize your screen adjustment and create an enjoyable and personalized workout experience.
Conclusion
Adjusting the Peloton bike and Bike Plus screen is a crucial step in creating a comfortable and immersive workout environment. By tilting, adjusting the height, and rotating the screen, users can prevent neck and eye strain, ensure clear visibility of metrics and instructions, and enhance their overall workout experience.
Experimenting with different screen positions and following the provided tips will help users find the perfect adjustment that suits their preferences. So, go ahead and make the necessary adjustments to your Peloton bike or Bike Plus screen to enjoy a personalized and enjoyable workout journey.
Related Articles:


